
Description
Materials You’ll Need:
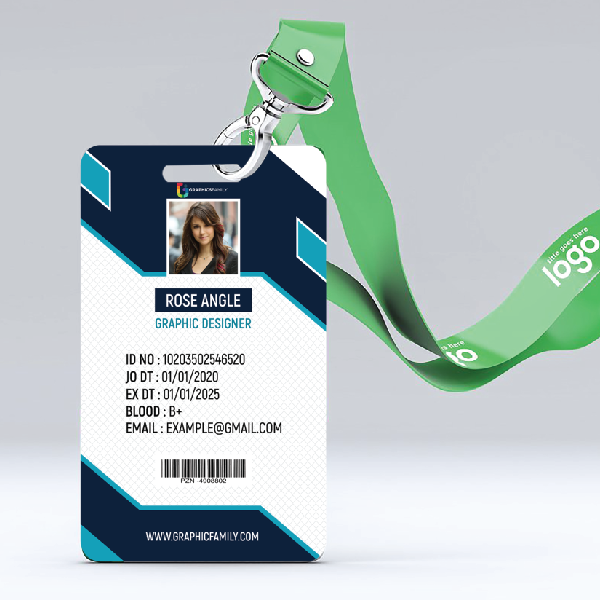
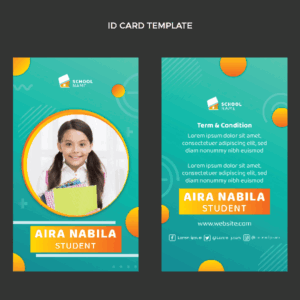
- ID Card Template: A pre-designed template for ID cards or a blank template (such as a .png or .jpg file).
- Card Printing Software: This could be software like Adobe Photoshop, Microsoft Word, or specialized ID card software (e.g., ID Flow, Cardpresso).
- ID Card Printer: A dedicated card printer (e.g., Zebra, Fargo, or Evolis printers).
- Blank ID Cards: PVC cards, which are commonly used for printing IDs.
- Laminator (optional): If you want extra durability for your cards, you can laminate them.
Steps for Printing an ID Card:
Step 1: Design the ID Card
- Software: Use software like Adobe Photoshop or online tools (e.g., Canva, Adobe Express) to create or modify your ID card design.
- You can include information such as:
- Name, Photo Job title/Role, Organization name/logo, ID number, Expiration date (if needed)
- Make sure the dimensions fit the standard ID card size, usually 85.60 x 53.98 mm (3.37 x 2.12 inches).
- You can include information such as:
Step 2: Add the Photo (if necessary)
- If the ID requires a photo, ensure it is high quality and placed in the designated space on the card template.
- For professional-looking results, use a photo that’s consistent in lighting and size across all ID cards.
Step 3: Print the Design
- Printing Software: Open your ID design in the card printing software. Most ID card printers come with their own software, but you can also use programs like Photoshop or a PDF file if the printer supports it.
- Set up Printer: Make sure your card printer is properly connected, the blank PVC cards are loaded, and the printer settings match the size of the ID card.
Step 4: Choose Printer Settings
- Ensure the settings are set for high-quality printing (especially for photos and logos).
- Some printers may require you to set the printer to “Card Mode” or a similar option for optimal card printing.
Step 5: Print the ID Cards
- Print a test card first to check alignment, colors, and overall quality.
- If the test print is satisfactory, proceed with printing the remaining cards.
Step 6: Optional – Laminate the Cards
- After printing, you can laminate the ID cards for additional durability.
Step 7: Cut and Finish
- If you laminated the cards, you may need to trim the edges.
- Otherwise, ensure the cards are cut properly if your printer can’t handle the trimming.
- Printing Time For 3 Days Delivery Time For 3 Days


 Nanda A5 Note
Reviews
There are no reviews yet.